

Table of Contents
- Types of Custom Sticker and How to Choose
- Sticker Design Best Practices for Print-Ready Artwork
- Sticker Artwork Requirements: File Formats, Resolution and Colour
- Die-Cut Sticker Printing: What Happens After You Send the File
- Holographic Vinyl Stickers: Materials and Finishes
- How to Order Custom Stickers: A Step-by-Step Process
- Common Mistakes to Avoid With Custom Sticker Projects
- Conclusion
- Frequently Asked Questions
Last Updated: September 27, 2026
Types of Custom Sticker and How to Choose
A custom sticker is a printed, self-adhesive label cut to a specific shape, size, and finish for branding, packaging, or signage. Choosing the right type comes down to two questions: how the sticker is cut, and where it will live.
At Holographicvinyl, we supply holographic vinyl to sign makers and sticker producers who ask these questions daily. The answers shape everything that follows, from artwork setup to material choice.
Die-cut versus kiss-cut stickers
Die-cut stickers are cut through the backing paper, so you peel the whole sticker away as one piece. They suit shaped logos, mascots, and any design where the outline is part of the look.
Kiss-cut stickers are cut through the vinyl only, leaving the backing sheet intact. You get a sheet of stickers that peel off individually. This format works well for sticker sheets, retail packs, and anything sold in multiples.
Pick die-cut when the shape is the product. Pick kiss-cut when convenience and sheet format matter more.
Indoor versus outdoor use
Indoor stickers face little stress. Paper and standard vinyl stocks hold up fine on packaging, windows, and walls.
Outdoor stickers need more. Sun, rain, and temperature swings break down cheap materials fast. For anything that lives outside, choose a durable vinyl with a protective laminate. This matters most for vehicle graphics and signage, where replacement costs far outweigh the material saving.
Sticker Design Best Practices for Print-Ready Artwork
Good sticker design starts before you open the design software. The files that print cleanly share three habits: correct bleed, sensible fonts, and line weights that survive the cut.
Building a bleed and safe area
Bleed is the extra artwork that extends past the final cut line. It stops white edges appearing if the cut shifts slightly.
A common approach is to add 2-3 mm of bleed on every side. Keep all key text and logos at least 3 mm inside the cut line. That inner zone is the safe area.
Anything outside the safe area risks being trimmed off. Check this before you send the file, not after.
Choosing fonts and line weights that survive cutting
Thin fonts and hairline strokes cause problems. They can tear, lift, or disappear when the blade passes through.
Follow these rules:
- Use fonts with strokes of at least 0.5 mm
- Avoid scripts and serifs with fine detail at small sizes
- Keep line weights above 0.25 mm
- Space letters slightly wider than you would for print
The test is simple. Shrink your design to its final size and look at it from arm's length. If detail vanishes, the cutter will struggle too.
Sticker Artwork Requirements: File Formats, Resolution and Colour
Print-ready artwork meets three standards: the right file type, enough resolution, and a colour mode the printer expects. Get these wrong and your job gets delayed or reprinted.
Vector versus raster files
Vector files use maths to describe shapes, so they scale to any size without losing quality. Formats like AI, EPS, and PDF are ideal for logos and cut lines.
Raster files are built from pixels. JPG and PNG files work for photos but blur when enlarged. If you only have a raster logo, it may need redrawing before it can be cut cleanly.
Resolution matters for raster images. Aim for 300 dpi at final print size. Anything lower looks soft.
For colour, supply files in CMYK for print. Add a separate spot colour or clearly named layer for the cut line. Label it so the printer knows exactly where to cut.
Die-Cut Sticker Printing: What Happens After You Send the File
Once your file arrives, the printer runs it through a set sequence. Knowing the steps helps you spot problems early and ask better questions.
The typical workflow looks like this:
- Pre-flight check. The printer reviews resolution, bleed, and cut lines.
- Proofing. A digital proof shows colour and layout before printing.
- Printing. The design is printed onto the vinyl.
- Laminating. A protective layer is added for durability, especially outdoors.
- Cutting. A plotter or die follows your cut line.
- Weeding. Excess vinyl is removed from around the sticker.
- Finishing. Stickers are counted, packed, and dispatched.
Most delays trace back to step one. Files with missing bleed, low resolution, or an unclear cut line get sent back, and that costs you days.
Holographic Vinyl Stickers: Materials and Finishes
Holographic vinyl stickers stand out because the material itself catches light. The finish shifts and sparkles as the viewing angle changes, which makes them popular for packaging, promotional items, and retail merchandise.
These stickers use a vinyl base with a holographic layer bonded to it. The effect comes in several styles, from rainbow patterns to subtle brushed looks. Some are printable, so you can add your own design over the holographic background.
Durability depends on the material and laminate. For indoor use, most holographic vinyls hold up well. For outdoor work, choose a version built for weather exposure and pair it with a laminate.
Holographicvinyl stocks a deep range of holographic finishes and widths, built by sign makers for sign makers. If you are testing a new finish, you can request samples before committing to a full roll. That saves waste on a client job.
How to Order Custom Stickers: A Step-by-Step Process
Ordering custom stickers is straightforward when you follow a clear sequence. The whole process usually takes less time than the design work itself.
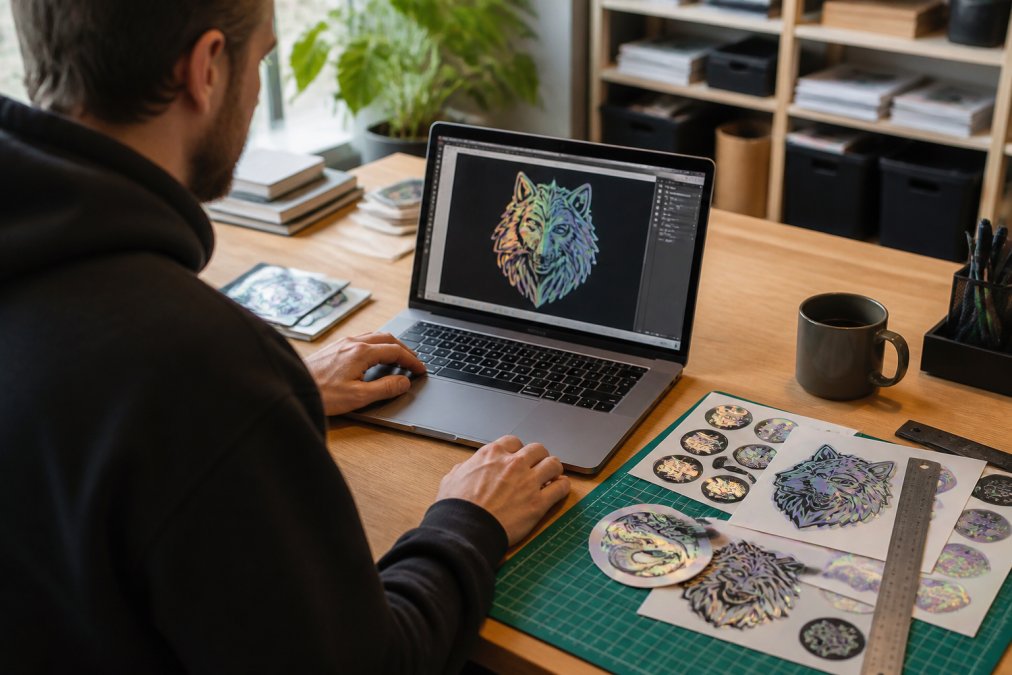
Here is the order process, step by step:
- Finalise your artwork. Confirm bleed, safe area, resolution, and cut line.
- Choose your material and finish. Decide between standard vinyl and holographic, and pick indoor or outdoor grade.
- Select size, shape, and quantity. Match these to how the stickers will be used.
- Request a sample or proof. Test the finish before a large run.
- Place your order. Confirm turnaround and delivery dates against your deadline.
- Approve the proof. Check colour and layout one last time.
- Receive and inspect. Check the first few stickers for cut quality and finish.
A quick summary of what to decide at each stage:
| Decision | What to Check | Why It Matters |
|---|---|---|
| Artwork | Bleed, safe area, cut line | Prevents trimming errors |
| Material | Indoor or outdoor grade | Controls lifespan |
| Finish | Standard or holographic | Sets the visual impact |
| Quantity | Order size and waste | Affects cost per sticker |
| Timing | Turnaround vs deadline | Avoids late delivery |
For a small Etsy shop, order quantities stay realistic and scale up as sales grow. For a sign shop on a client deadline, confirm dispatch times before you promise a date.
Common Mistakes to Avoid With Custom Sticker Projects
Most sticker problems are avoidable. They come from a handful of repeated errors, and each one costs time or stock.
Watch for these:
- No bleed. White edges appear when the cut drifts.
- Low-resolution logos. Raster files blur when scaled up.
- Hairline fonts. Thin strokes tear or vanish during cutting.
- Wrong colour mode. RGB files print with dull or shifted colours.
- No laminate outdoors. Sun and rain destroy unprotected prints.
- Skipping samples. A finish that looked right on screen can disappoint in hand.
- Unclear cut lines. Printers guess, and guesses get rejected.
What most guides miss is that these errors are cheap to fix at the design stage and expensive to fix after printing. A ten-minute file check saves a full reprint.
Conclusion
Getting a custom sticker project right comes down to preparation. Choose the right cut and material, build your file correctly, and confirm the details before you order.
Holographicvinyl supports sign makers, sticker producers, and small businesses with a deep range of holographic finishes and widths, free delivery, and same-day dispatch.
Frequently Asked Questions
What is the best material for custom stickers?
Vinyl is the most versatile base material for custom stickers because it resists water, tearing and UV fading. For a premium look, holographic vinyl adds a reflective finish that suits packaging, promotional items and vehicle graphics. The right choice depends on where the sticker will live: indoor labels can use a lighter vinyl, while outdoor signs, livery and anything exposed to rain need a weather-resistant vinyl with a protective laminate. Holographicvinyl stocks a range of holographic finishes so you can match the material to the job.
What file formats are required for high-quality sticker printing?
Send vector files such as AI, EPS, PDF or SVG wherever possible. Vectors scale to any size without losing sharpness, which matters for die-cut sticker printing where the cut line follows your artwork precisely. If you only have a raster file, supply it at 300 DPI or higher at the final print size and save it as a flattened TIFF or high-quality PDF. Include your cut line on a separate layer and convert all fonts to outlines to avoid substitutions.
Are custom vinyl stickers waterproof and weather-resistant?
Yes, vinyl stickers are waterproof and, with the right laminate, suitable for outdoor use. For vehicle graphics, outdoor signage or anything that will face rain and sunlight, choose a vinyl rated for exterior application and add a UV-resistant laminate. This protects the print from fading and keeps the edges from lifting. Indoor holographic vinyl stickers, such as those used on packaging or retail merchandise, do not need the same level of weather protection but still benefit from a laminate for scuff resistance.
What is the difference between die-cut and kiss-cut stickers?
Die-cut stickers are cut through the vinyl and the backing paper, so each sticker is a separate piece with the cut following the artwork outline. Kiss-cut stickers are cut only through the vinyl, leaving the backing sheet intact, so you get a sheet of stickers that peel off individually. Die-cut suits single stickers, product labels and merchandise. Kiss-cut suits sticker sheets, planner sets and anything sold as a multi-sticker pack.